Anki Integration Guide
Anki is a flashcard program that helps you spend more time on challenging material, and less on what you already know.
- Install Anki on your computer and log in with your free account.
-
Install the AnkiConnect add-on in Anki. After installation, restart Anki for the changes to take effect. Verify that it was installed properly by visiting the localhost:8765 address in the browser. You should see something similar to
{"apiVersion": "AnkiConnect v.6"} - Create new deck in Anki ("Create Deck" at the bottom of the page) and name it accordingly (e.g., "English pronunciation", "Spanish sentence cards" etc.). Configuring specific deck options is beyond the scope of this manual - check official Anki documentation for that - but you should be fine with default settings for now.
-
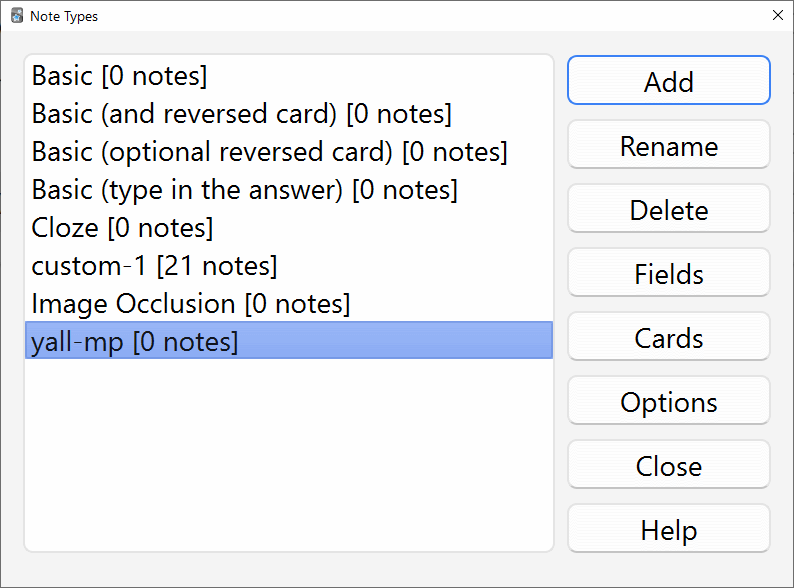
In Anki, select "Tools" -> "Manage Note Types" from the menu:
• Click the "Add" button.
• Click "OK" with option "Add: Basic" selected.
• Give your card template some name, for example "yall-mp", confirm.
• The note will appear on the list of note types:
-
With the new note type highlighted (just like in the screenshot above), click on the "Fields" button - new dialog window will appear:
• Here you can configure fields for different elements that Y'ALL Media Player can export.
• You need a separate field for "id" and at least 1 field out of: "subtitle_text", "audio", "screenshot", "video_clip" or "animation" ("notes" and "hint" are optional).
• You can remove the default "Front" and "Back" fields.
• You should end up with something like this:
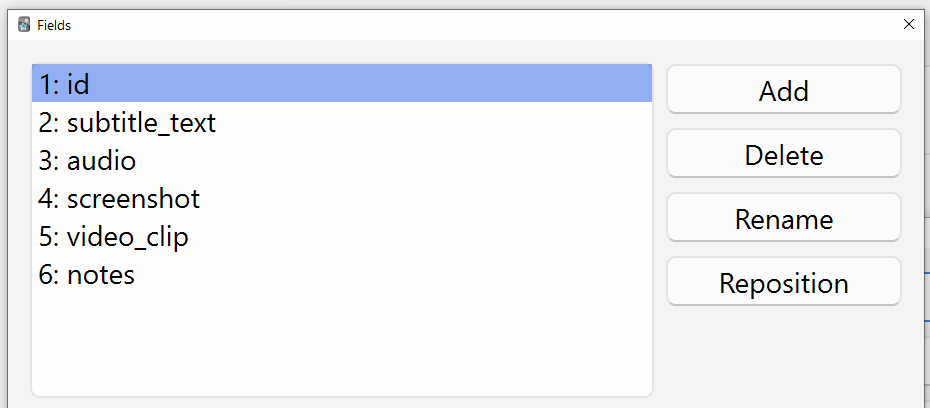 Here I am using all the fields available, but you don't have to define them all. If you are 100% sure you won't need video clip for example, you can omit the "video_clip" field etc. Keep in mind that "id" field and at least 1 other, from the list above, are required later to integrate properly (except for "hint" and "notes" which are totally optional).
• After adding all the fields that you need, click "Save" to exit the "Fields" dialog and go back to "Note Types" dialog. -
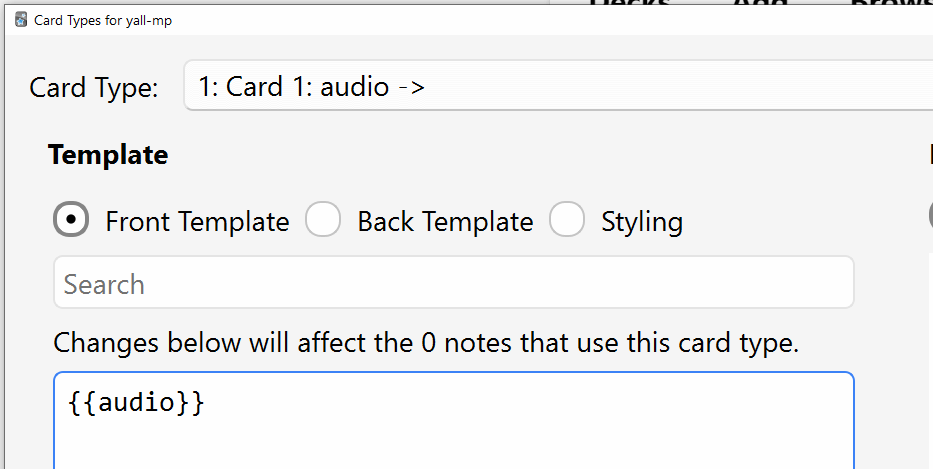
Now for the final step, make sure your new note type is still selected, then click on "Cards" button:
• Here, you can configure the "front" and "back" of your flashcard - which of the configured fields will be displayed where etc.
• You can define any HTML and CSS you want, but for simplicity we will create the most barebone card template possible.
• It all depends what type of card you want to achieve. Y'ALL Media Player supports exporting multiple flashcard types at once, so you can define as many card templates as you want.
• To keep it simple, let's assume you want a card for listening comprehension - "audio" on the front, "subtitle_text" on the back.
• Select "Front Template" radio button (should be selected by default) and put the code "{{audio}}" in the large textarea below it:
• Now select "Back Template" radio button and put the following code in the large textarea below it:
{{FrontSide}}
<hr id=answer>
{{subtitle_text}}
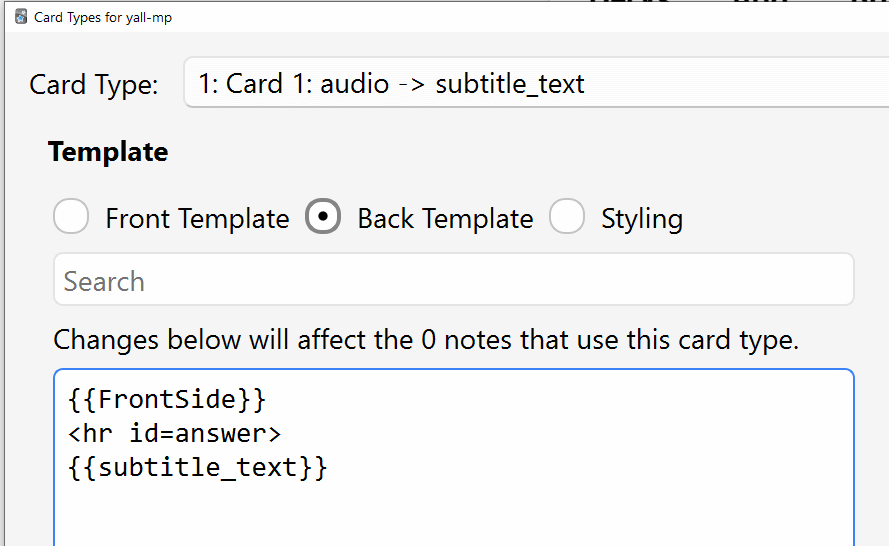
• Click "Save" to confirm and exit the dialog, then also close the "Note Types" dialog.
• That is of course the simplest card template you could possibly make - to learn more, consult the official Anki documentation.
• Add as many card templates as you need - for example you might want a separate template for reading comprehension (text on the front, audio on the back) etc. - Always keep Anki open in the background when using Y'ALL Media Player. It will be automatically detected by the app.
-
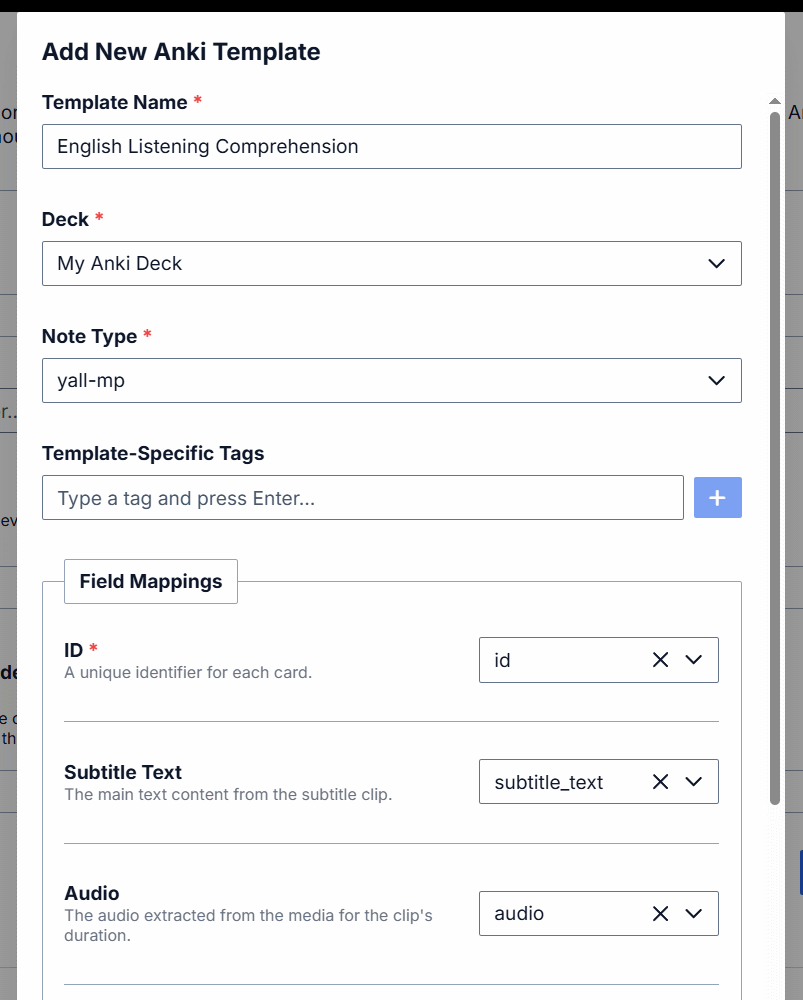
In Y'ALL Media Player, open global settings from the main menu (keyboard shortcut: O), go to the "Anki integration" tab and configure new Anki template(s) - you should be able to see your Anki deck, created note type etc.:
-
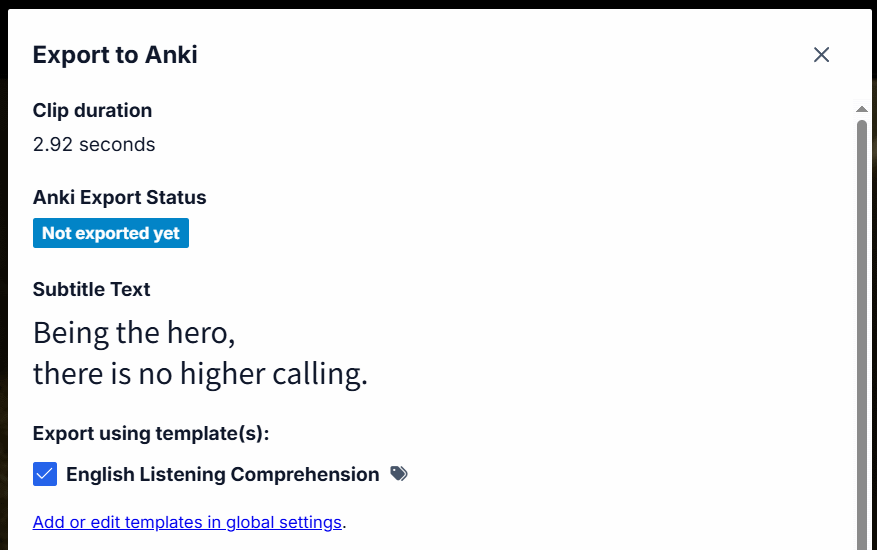
Everything should work now. Play some subtitled clip and either press E keyboard shortcut or right click the clip on the timeline and select "Export to Anki". Remember to select the card template(s) you want to use and press Export: